Thursday, 29 July 2010

Carneval mask tutorial

I'm missing your comments, but serves me right for not blogging lately. I haven't been still though - I have a couple of items to show you so stay tuned. First I'd like to show you a project I'm very proud of AND a tutorial. If you know any magazines that have an upcoming challenge or style that this mask would fit in, let me know. I'd love to be published again.


I'm finally back with a project that I'm over the moon about. I got the idea as soon as I saw masked fairy in green. She is holding a mask which I thought would be wonderful for this project.

This is my first try to decorate something that isn't too flat. I'll share my tips with you so you can do the same. It's not that difficult, but the result is stunning.

Here's what I used:
a plain white mask - I got mine in a hobby store for $3
some kind of ink or paint - I used distress ink in green, blue and red
a selection of stamps and thin paper (like the one you use to gift wrap)
decoupage glue
black ink + colouring medium - I used promarkers
glue
ribbons and bling
my sewing machine to attach ribbon to the rubber band (optional)
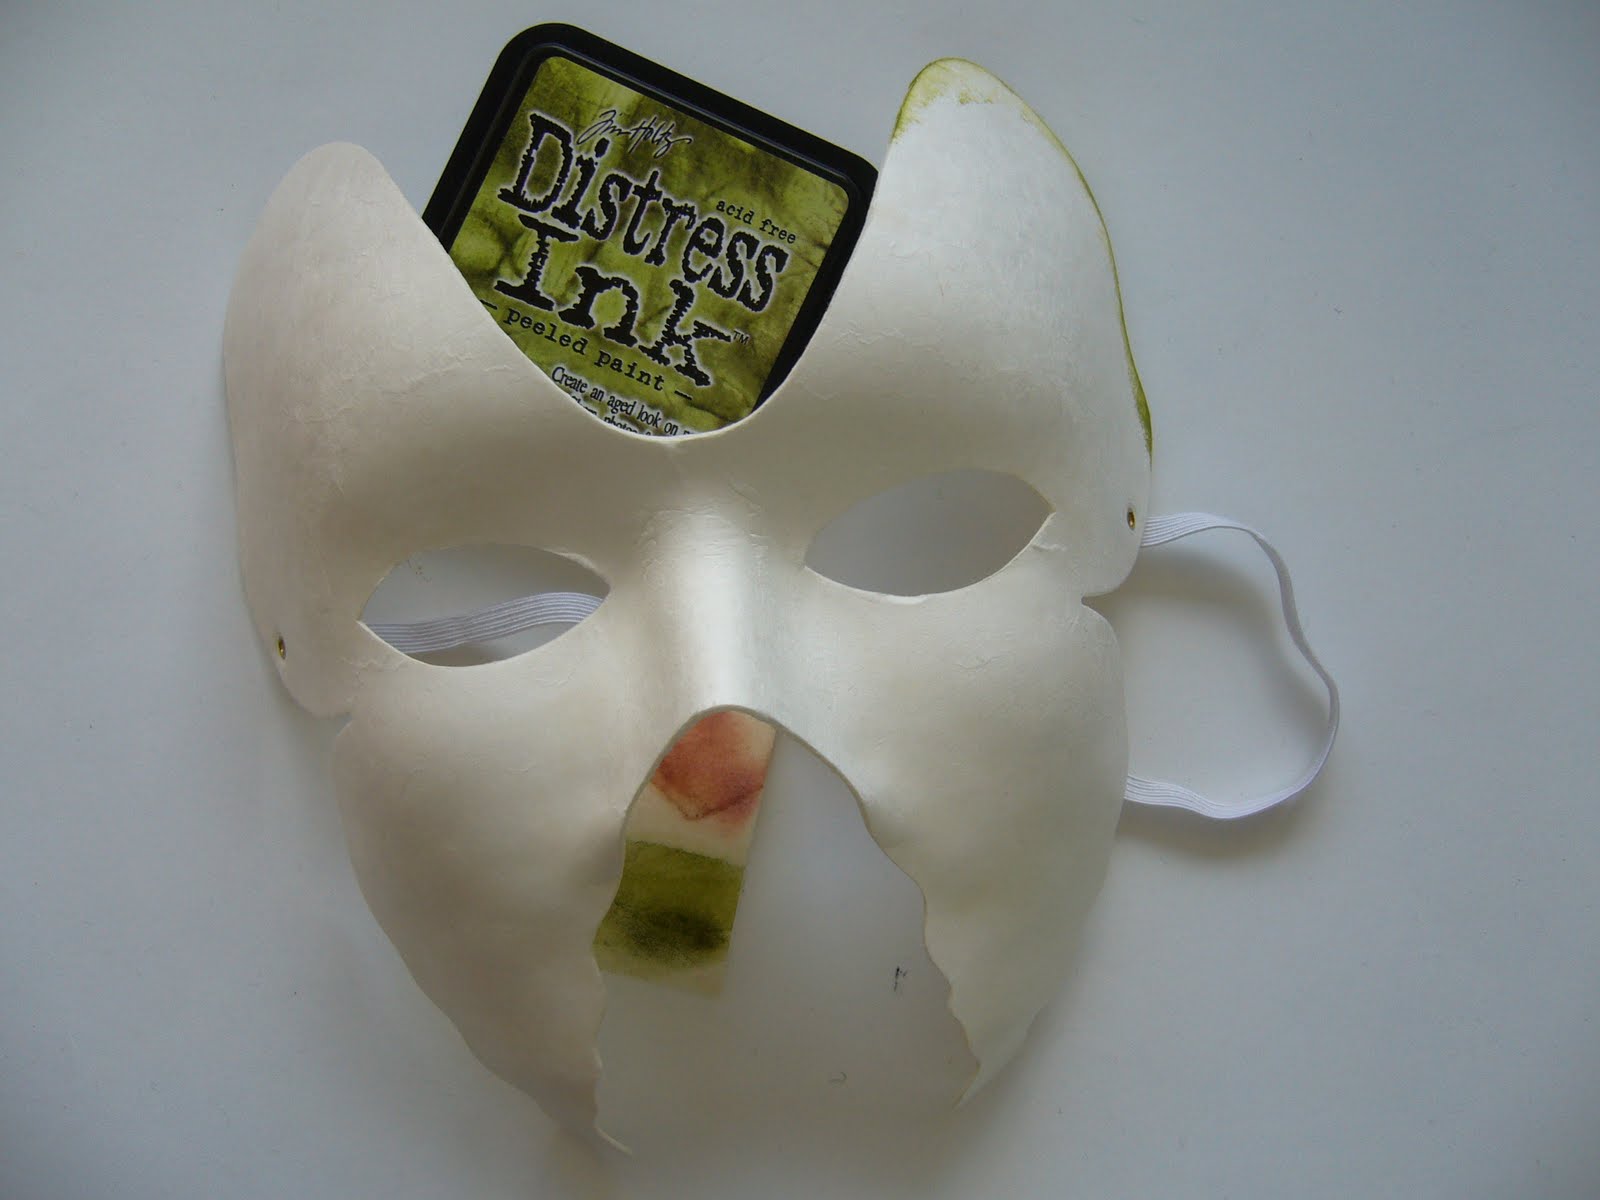

Start by inking the edges of your mask. Don't ink the mask itself unless you know exactly where your images will go. After making the left side I thought I was done so I inked the right side with bright red. Then I realized I wanted another image to be the focal point. Unfortunately when I glued her on, the bright red shone through. That's why the fairy on the right is so red around her face. So learn from my mistakes :)

Set the mask aside to dry and stamp up your images on the paper (I only had light pink, a packaging from a gift, but if you want your colouring to be more accurate you should use white. I used what I had). I tried to stamp where there were no creases to get a good impression. I also tried to choose stamps that could easily be cut out with no tiny details. Colour them and cut out.


Now for the fun, and scary part! Gluing them on. DO NOT put the decoupage glue on the images. Since the paper is so thin it will rip. Put the glue on the mask instead and the image on top. If you have slightly more glue you will be able to smooth the image out properly. Put the images so they go outside the edges. Cut away so there is about 1/2 inch or less and fold it around the edges.


Work this way one image at a time. Don't be afraid to use parts of an image to cover up any white parts. I used a wing to cover up a spot on the top.


When you're happy with the result fill in any white parts with ink or paint. When it's dry, brush on some decoupage glue over the whole mask to seal it and make it more durable (we wouldn't want the mask to get ruined in the champagne rain, right?)
Now the only thing left to do is to decorate the mask even more. I thought it looked great as it was, but something was still missing. I inked the rubber band, but didn't think it looked elegant enough, so I tried with different ribbons and lace I had until I found the best combo.


The trims I used were stretchy which was perfect for the rubber band/neck holder. It doesn't have to be perfect, just needs to stick.  If you don't have any stretchy trims you could cut away the rubber band and attach long silky ribbon that you tie at the back of your head. Didn't think of it until now. I sewed mine on with a seam made for stretchy fabrics. Another solution is to pull the rubber band while you sew. This will make the ribbon you use to scrunch up when the rubber band goes to its original form.


When you're happy with that attach some trims around the edges. I found these mini-clasps a tremendous help while waiting for the glue to dry. Just make sure you don't leave them over night as they will glue to the mask!


Finally glue on some bling around one of the eyes.
Tadaa! You have the most wonderful (if slightly itchy around the forehead) mask on the whole carnival.


Here's a tip when working with the images: If you want to use an image and a side is "chopped off" so to speak, you can either put that side close to an edge OR do like I did with the image above. If you have an eye for details you will notice that the wings are not really hers. I used a wing from  midnight waiting, stamped it twice and coloured one from the front and one on the back of the paper to make it mirrored. Then they are cut out and aligned so the main stamp image can be put on top without the edges showing through - because they do. Another reason that this stamp was so great - her straps on her shoulders cover up the edges.


Stamps used for this project:
Masked fairy in green
Moonlight whispering
Love is gone
Midnight waiting
Forest blue
Time flies
All stamps by sweetpea stamps


Hope you've gotten inspired to use your Sweet Pea images for other than just flat items. If you do, make sure to let me know so I can take a look.



post signature

Monday, 19 July 2010

July candy

I'm quite behind at bloghopping and finding candy for you, but here are a few at least:


Lili if the valley 21:st

Amber is giving away a beautiful red skirt. Ends 24:th.

Claudia 25:th.

Kristine 25:th.

Ilkka is giving away a mixed pack of eyes for your amigurumis and an embroidered bag. Ends 31:st.

Crazy daisy is giving away a brand new cricut create. Ends 31:st

Dawn 31:st.


Heidi Swapp 31:st


post signature

Saturday, 10 July 2010

Double embossed mermaid


I wanted to show you this card more because of the technique. I think it's a great technique using your nestabilities and embossingfolders. The whole card is made just from one layer of cardstock. As you can see the only embossed parts are around the mermaid, leaving the middle for stamping. I used Elaine Cox's little jasmine mermaid from sheet 6 plate 48.

I inked the embossed text with blue ink to make it stand out more. The mermaid is stamped with the same ink and coloured with promarkers. I originally stamped her with versamerk and then added chalk, but it didn't look right, so I stamped again with blue ink. That's why it looks like her lipstick is smeared out if you look closely ;)
Yes, (gasp) I make mistakes too that I try to cover up, lol.


I hope this card at least gave you some inspiration and a new way of thinking about your sweetpea stamps. So what are you still doing in front of your computer - off you go and STAMP!

post signature

Thursday, 8 July 2010

Elegant mystical wishes


Here is another card from me using my newest loot - stamps from Elaine Cox. This time I used pirate treasure mermaid from Sheet 5, Plate 46 and a text from the same sheet. I used the same sketch as for the bottom card. You can make so different cards using one sketch as I'm sure you know if you've ever played along in any sketch challenges.


I wanted to keep the image tone-in-tone with the papers and chose blues and aquas to match. The only thing that stands out is the text that I embossed with a blue inkpad and some glittery embossingpowder. An elegant card that I think would suit the man in your life.


post signature

Monday, 5 July 2010

First quilt project


A high-school friend of mine just gave birth to a daughter. We had been out of touch for 6-7 years until she contacted me over facebook. We started talking a little and I got really happy when she said she was pregnant as they had tried for over 2 years. Well, now the little baby is here and I thought I'd surprise her and the new daddy with a gift.

She's a rocker and always liked black, flames, skulls and such. I wanted to make a quilt like that, but didn't find fabrics that matched. Instead she said they had painted the room in Shrek-green and when I saw this line (love U by Deb Strain) I knew it was perfect. I've decided to make the quilt a little longer, so I'm making that by adding one coloured fabrics (that I won over a year ago not knowing how I would use it!) Here's what I'm thinking:


post signature

Saturday, 3 July 2010

Paper piecing at the pixie cottage

This week's theme at the pixie cottage is paper piecing. Here's my card using Basic Grey papers. I stamped her on both red and green paper and then cut out the bag from green and dress and hat from red.


I've been practicing doodling - or actually writing. I'm trying to get used to my handwriting and see it as a complement instead of a detail that ruins a project. I'm practicing for scrapbooking...


I made this card with the photochallenge at the Basic Grey blog in mind.

post signature

Wednesday, 30 June 2010

Make an album using your big nestabilities - tutorial


Thank you for still stopping by my little blog.

Today I'd like to show you something I haven't seen out there in blogland. Hopefully I'm one of the first :)
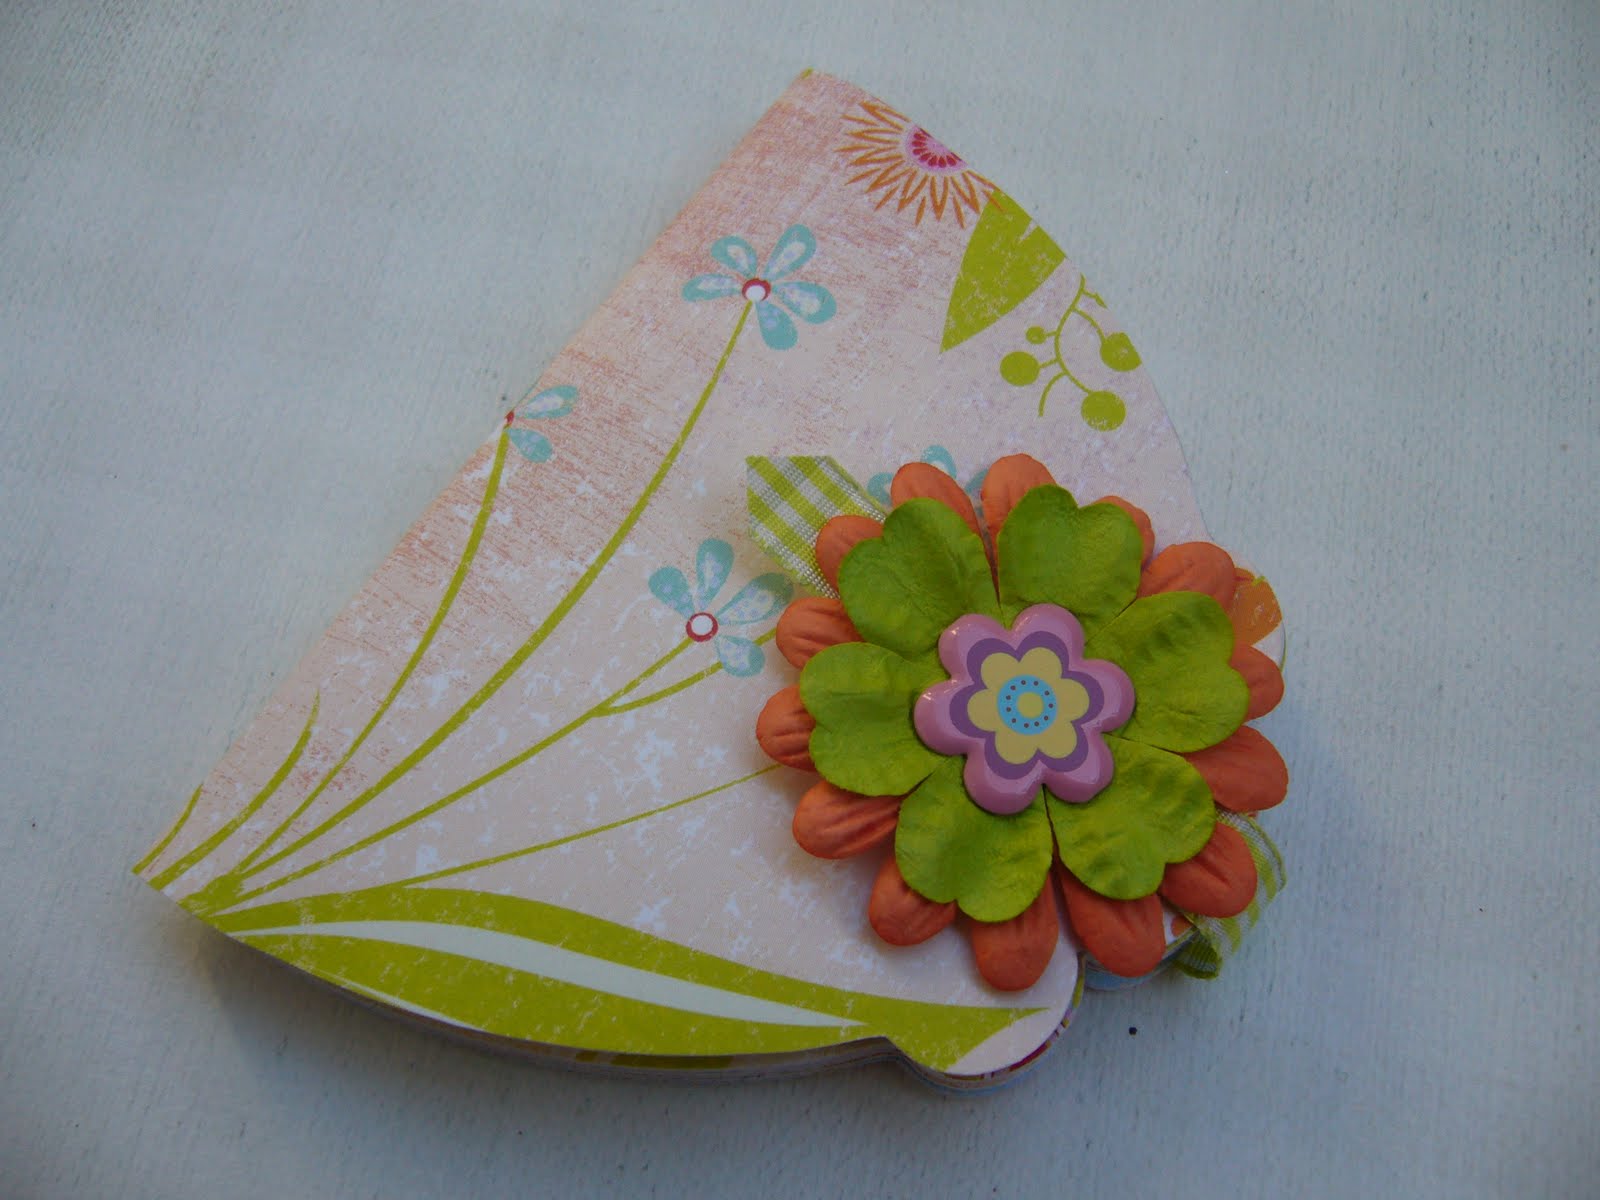
It's a minialbum using the bigger nestabilities. Here I have used the biggest one from labels ten. You can use the biggest die of any shape if you'd like, but I wanted my album to be as big as possible so I aimed for the huge ones. I think I'll fill this one with photos of flowers I've taken throughout the years.

I started out by cutting out as many pages as possible from my Basic Grey papers (don't remember what the line is called as I used scraps from a previous project) Bend the paper to form a U shape so you know how
to position the die. You will want the least resistance when you bend it. That way it will fold nicely without
cracking or leaving ugly marks. I used 11 different papers + a bigger piece for the front and back. I used papers that were white on the back so I didn't feel like I wasted the pretty backside. I suggest you use a bit heavier patterned paper, but not as heavy as double sided. BG papers are perfect for this as the pages turn out sturdy enough, but not too bulky.

Fold your cut out pieces in half and arrange them on top of eachother. Glue them back to back. I use a glue called platonal, which is a bookbinder's glue that's acidfree and that doesn't crack over time.


Set aside to dry while you work on the cover. The cover is made out of one piece. You can't cut it out with the die as the sides would be too short  (you need to count in the width of your glued together papers).
Press together your soon to be album while measuring or the back will crease. But leave a little room for photos and embellishments. Just enough is the key :)


I cut out a shape on a scrappaper, devided it in half and then set them apart so I could see how much space I needed for the back. Then I traced the shape on the backside of the patterned paper and cut out by hand.


 Crease and bend the cover:


Finally decide on what kind of closing you'd like. You could add two pieces of ribbon between the cover and album to tie it closed. I decided to use my magnetic snaps I'd bought oh, like 7 years ago or so. I only attached one piece of ribbon on the back, then glued it all together. Leave the middle part unglued, just glue front and back.
Attach a flower to the ribbon and glue on a magnetic snap. I only glued one snap to the ribbon and waited before I glue on the other one on the front. I want to fill my album with photos and embellishments first - that way I'll know where to glue the snap.


Did you notice the position of the flower on the front cover? Together with the patterned paper it looks like it's a part of it.

Hope you'll give this a try and if you do, leave me a comment so I can take a look.

The colour I used are perfect for this week's photo inspiration challenge at the Basic Grey blog
I'm also participating with this album at pile it on that had fold it as one of the themes.

post signature

Friday, 25 June 2010

Happy midsummer's day my friends


Today I would like to take the opportunity to show you a card made for a friend using my latest DT loot from sweetpea. This is the first time I've chosen to get some stamps drawn by Elaine Cox. This one is called little seahorses mermaid. I really love the cute little seahorses and the fresh zesty colours of the patterned papers.

I also want to wish you a happy midsummer's day that we celebrate here in Sweden today. Hoipe to see you back here soon again. I'm really trying to update so you have something fun to see.


The card is made to fit the theme "friendship" this week at Simon says stamp.


post signature

Wednesday, 23 June 2010

Magical wishes


I'm back again for the second time this week - shocking, I know :) I've been feeling a little better and really felt like playing around with paper again. Woohoo. I'm way behind on my sweetpea DT commitment so I wanted to play with as many sweetpea images as I could. Hopefully I'll finish more cards as I've gotten new stamps from the Elaine Cox' collection. Can't wait to colour them! I even managed to squeeze in a small album I made, so I'm up and about like I haven't been for so long.

But first my magical card. The image I've used is called time flies. The colours I used were from one of the challenges at JPhobby's cyber crop that ends on thursday. JPhobby is one of my local scrap shops. The colourcombo was orange, blue and brown. I found these papers that were so spot on, don't you think? I really wanted to make the card over-the-top as I sometimes feel like I don't decorate enough. I love those dekadent cards with enormous amounts of embellishments and layers. So whenever I felt like stopping myself I ignored that impulse and inked, tore and layered some more.

I worked quite a while on this card and loved every second of it. As usual I coloured the image with promarkers, cut out with a circle nestability and layered on a bigger circle of orange bling cardstock. I added stickles glitter in colours "waterfall" and "stardust" on her and on the middle of the cut-out butterfly. The blue cardbase is stamped with a butterfly stamp with versamark ink and then embossed with a lightblue embossingpowder with some glitter in it. On top of that I added a piece of orange patterned paper with glitterembossed parts. I tore the top and bottom to make it a bit more vibrant. On top of that are two pieces of paper. They are actually cut as one strip from a 12x12" paper and then cut in two. I used a cornerpunch on them and after that I cut out a scalloped circle with my nesties which I embossed with a cuttlebug embossing folder. Finally I stamped the text "mystical wishes" that can be found on Elaine Cox' sheet 5 plate 46 in a blue ink and embossed with glittery powder. I then layered it on a tiny piece of orange bling cardstock and attached to the right hand side of the card. And there you have it :)


Beside the colourchallenge I used a sketch from cute card thursday and the theme "cute as a bug" from stamptacular sunday challenge.


post signature

Tuesday, 22 June 2010

First Christmascard of the year

One of my local scrapshops are having a crop at their forum. There are a bunch of different challenges and it all ends thursday 24:th. I haven't felt this inspired for a long time and started on different projects. Papers, stamps and promarkers are flying everywhere. I just hope I'll be able to find it all later :D


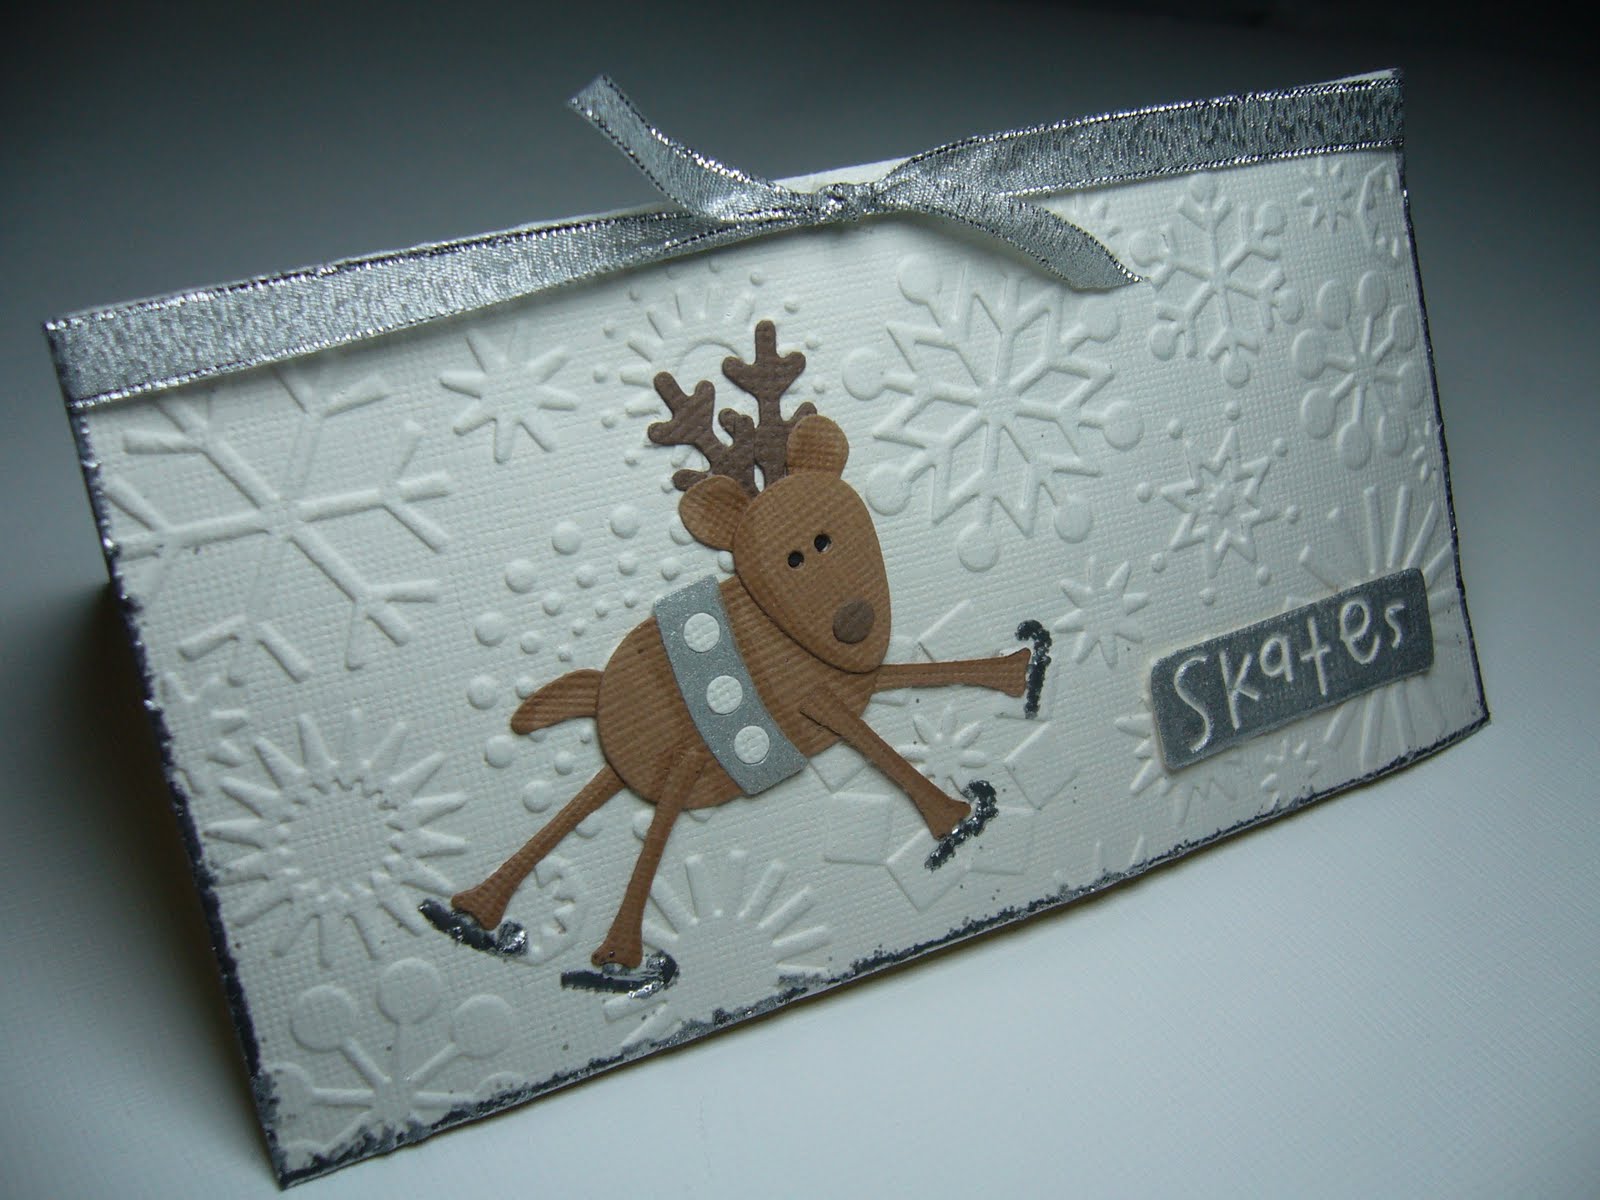
So the first challenge I finished was a Christmas one: not use Christmas stamps (textstamps were ok) or papers. I foound this adorable qk die I bought a while back and never used. I dryembossed the snowflake background and cut out "skates" from another cuttlebug embossing folder. I  inked the text with silver making the lowered text white. I got the brilliant idea of drawing little skates on the raindeer and silverembossing them to make them stand out. I also embossed the edges silver powder. It was a little difficult making the skates even because of the raised and lowered snowflakes, so it looks a little messy. But if I make it a bit neater I think this would be a great card to make a batch of and give away as a present.

Isn't he just adorable sliding around?


post signature